
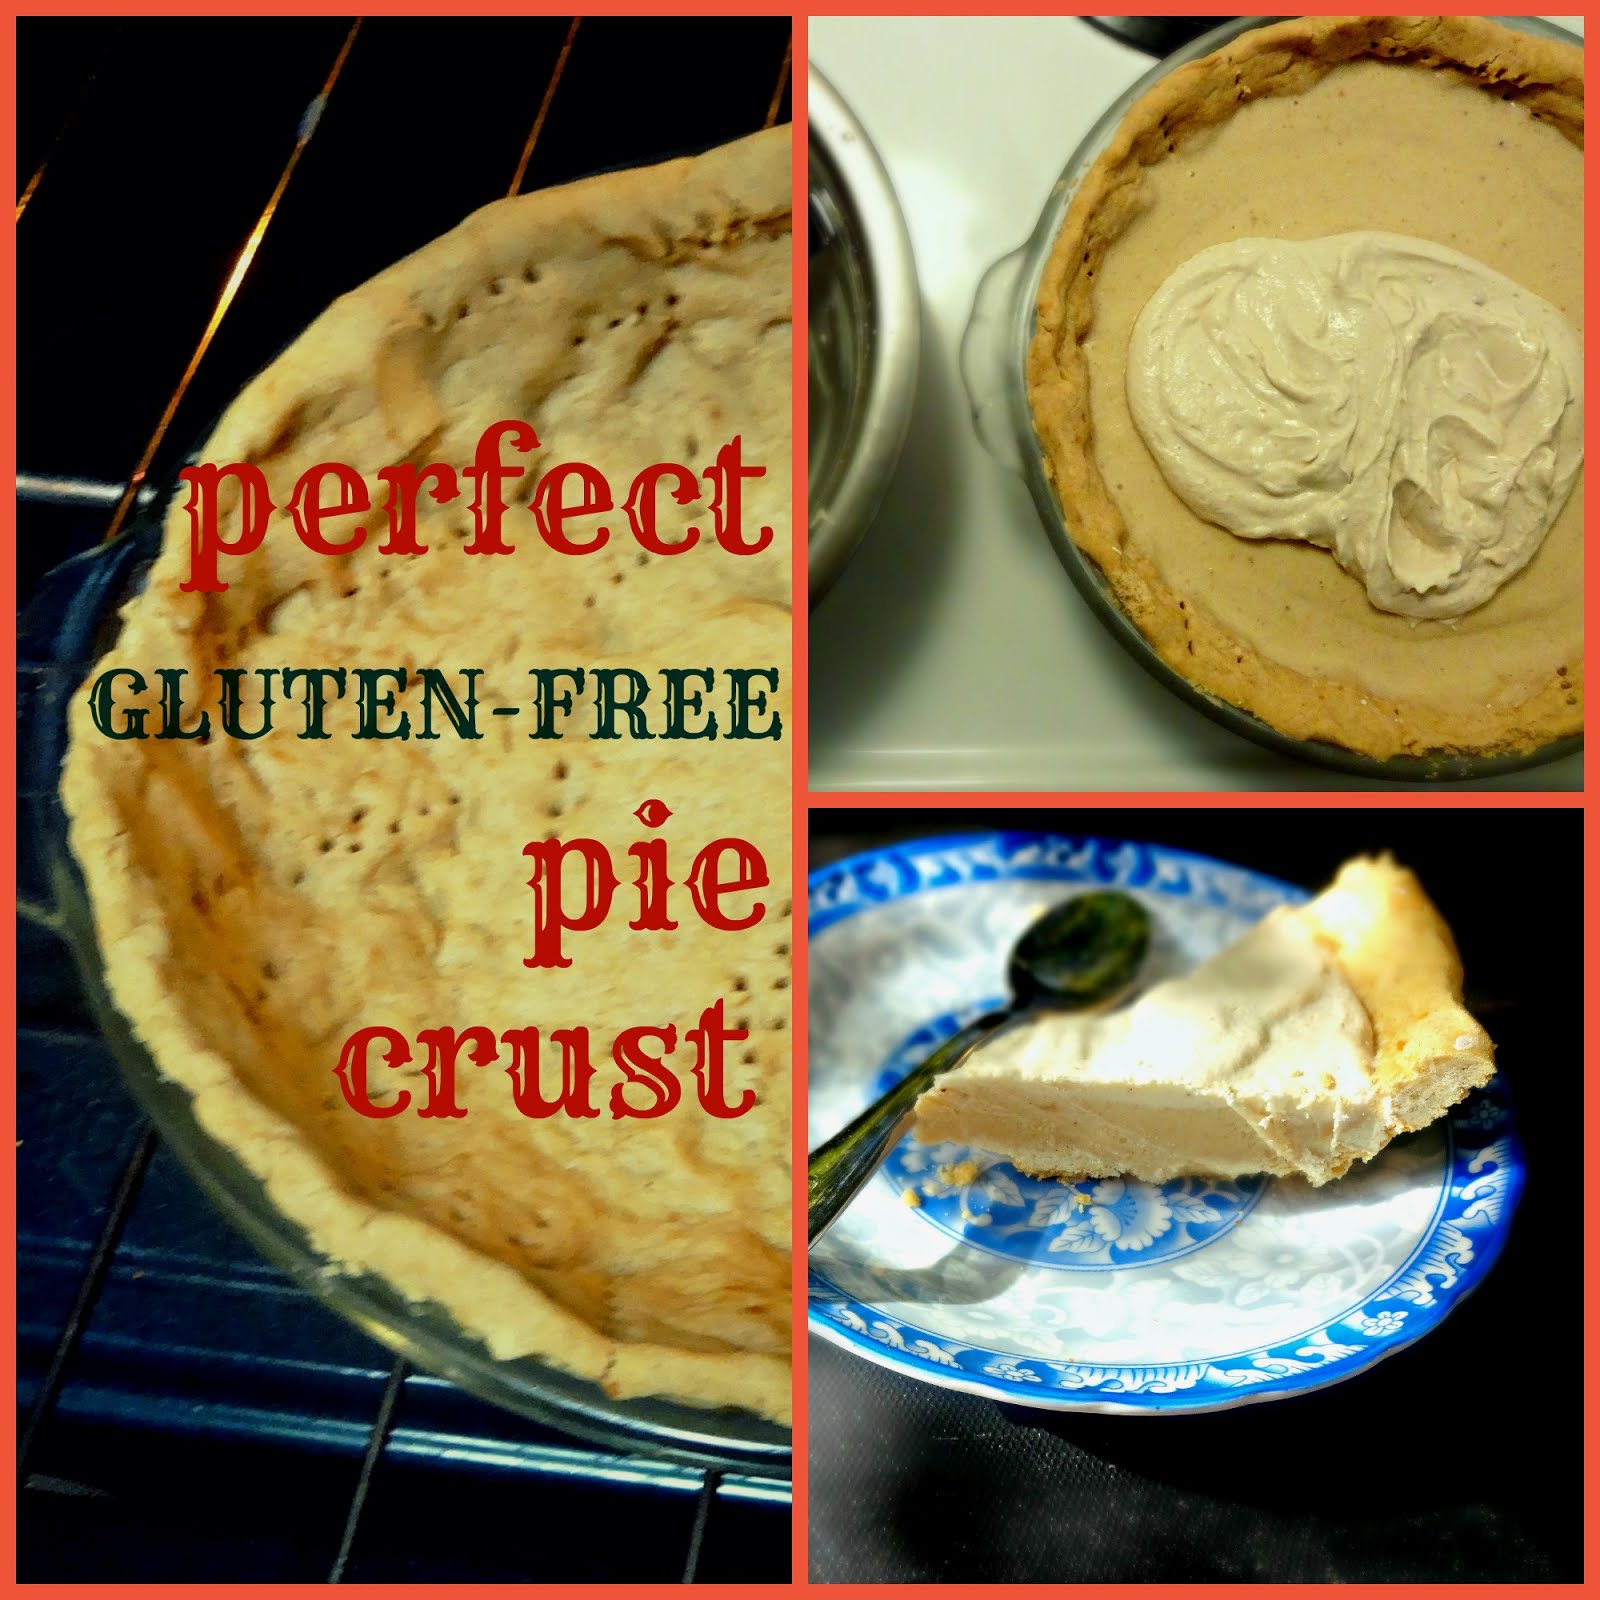
Perfect Gluten-Free Vegan Pie Crust
5:11 PM
I could probably make a great pie in my sleep. When I gave up gluten to improve my health and digestion I stopped baking pies for awhile. I got a few requests from family members for birthdays etc and caved to baking with white flour for them. I think I was afraid to bake a gluten-free disaster of a pie crust so I just didn't try. After I started Baking Backwards I tried my hand at gluten-free crust several times. Some of my attempts were much better than others - my Pear Pockets are an example of a more successful crust trial. Though those pastry pockets are definitely delicious, their crust is more like a biscuit or scone than pie crust. It took me several failed experiments to get the pie crust formula right. I am delighted to say, I can now make great gluten-free pie crust! Even better, I'm going to share my recipe with you today.

I have experimented with many combinations of different gluten-free flours for many different recipes. I have done so mainly because I don't digest gums (like xanthan gum, guar gum etc) well which are found in nearly all gluten-free flour mixes and gluten-free products available on the market. I am not alone, as this problem is far more common than you might think, making going gluten-free even harder for many people. Though I have baked with countless gluten-free flours, I have two favourite flours lately which are used in this crust -- brown rice flour and arrowroot flour. I combine them in this recipe with a little baking soda, baking powder, pink salt and deodorized virgin coconut oil. The result is a flaky, tender, buttery and light pie crust that is unbelievably forgiving. Over work it, tear it, patch it, rip it, do your worst! This crust can literally be crumbled and pressed into a pie shell before baking and it will still come out perfect -- how many ordinary pie crusts can do that?!

Gluten-free or not, I have always loved good pie. This crust reminded me why.
Good crust is great. Period.
Perfect Gluten-Free Vegan Pie Crust
(vegan, gluten-free)
 |
Makes 1 standard pie crust
|
Part I
Part II
Part III
Part IV
|
Add Part I ingredients to a small bowl and place in freezer 10 minutes before you start blending your dough.
|
Add Part II ingredients to a different cup and place the cup in your freezer at the same time as your chilled fat from step I.
|
Sift together Part III ingredients into a mixing bowl. Add to food processor.
|
Add Part IV ingredients to food processor and pulse until mixture is crumbly without huge chunks.
|
Add chilled ice water, a little at a time while pulsing only enough to bring dough into a chunky dough.
|
Place a large sheet parchment paper on a flat surface like a countertop. Empty dough onto the parchment and form a thick flat circle with it. Wrap up your disk of dough in the parchment and place in freezer for 10-20 minutes before rolling out.
|
Preheat oven to 350F.
|
Grease pie plate with a little virgin coconut oil before adding dough. I like using the regular virgin coconut oil (rather than deodorized) for this so there's a little coconut flavor but not too much that it overwhelms the crust. Roll out your chilled dough in all directions between two sheets of parchment until it is wider by an inch and a half than the widest rim of your pie plate. Patch the edges if necessary.
|
Gently and carefully transfer your rolled out dough to your pie plate. If it cracks or rips, don’t worry, this dough is VERY forgiving and is easily pressed together, just do so gently. If it rips or cracks all over, gently press the dough into the base and sides of the pie plate.
|
Once your dough is in place in your pie plate, trim the edges to fit the plate and patch the edges wherever necessary. Once trimmed, prick all over with a fork.
|
Place pie in freezer for up to 10 minutes before baking. Chilling before baking will ensure that the fat is nice and cold. A nice cold dough before baking will yield the best crust. Bake chilled crust for 10-15 minutes in your preheated oven until the edges are golden and the crust is firm to the touch.
|


0 comments